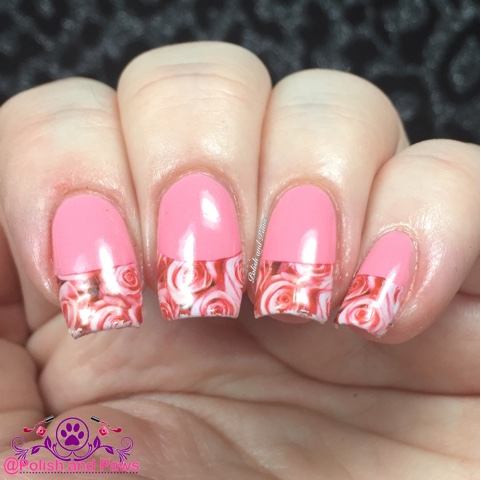
Today I have some water decals from Lady Queen to show you all. These are a little different in that they are french tip decals. It was my first time using this type, so let’s see how I found them to work with.
I have typically avoided french tip decals as obviously they would require a bit more precise placement than full nail decals. But I was feeling up for a challenge, so decided to give them a try.
For this mani I started with 3 thin coats of Zoya Laurel. Once fully dry I soaked each tip decal in room temperature water for 10-15 seconds. I decided to start on my little finger incase it took a minute to get the hang of these. Indeed it did, so I was glad I did that. I didn’t want to place these exactly at my smile line, as I wanted a bit more of the design to show, so I placed the next two a bit further down than my smile line which was exactly the look I wanted. As luck would have it though I struggled a bit placing the decal on my index finger and placed it a little too far down the nail. By the time I realized it the moisture had evaporated making it basically impossible to move, short of starting over again. I decided pretty quick though that it was close enough! These do take a little bit of getting used to, but once you get the hang of them its a great way to get fancy french tips with ease!
If you like these water decals they are available here. Don’t forget to use my code RQLC15 for 15% off your order!
Do you like working with water decals? Let me know in the comments below!
Until next time, stay polished!


