I was recently contacted by Nicole Diary, a new company specializing in nail art items such as water decals, stickers, stamping plates, and even polish. I was asked to review their water decals, and of course I said yes as I love water decals. They sent me 10 sheets of decals, so in today’s post I will go over the first 5 mani’s I created, and another 5 coming up soon.
I’m going to start out with instructions for applying water decals. They come with some basic instructions, but this is my version based on my experiences with them.
Water Nail Decals Directions:
- Paint your nails with your desired background color, usually white for under the decals, and allow to fully dry.
- Remove the thin layer of film from the top of the sheet, cut out the pattern and dip into water for 10-20 seconds.
- Gently slide the decal off the paper backing and hold with some nail tweezers to position the decal.
- Gently dab up the water with a paper towel or napkin.
- Allow the decals to set for a minute or two then apply a generous layer of top coat.
- Using a small brush and acetone wipe away the excess decal and clean up around the cuticles.
Tropical Rainforest
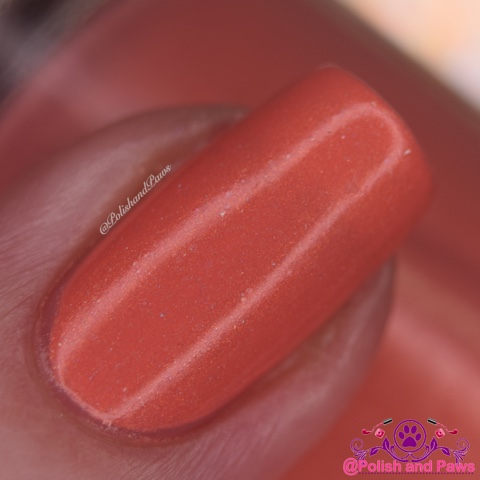
I’m calling this look Tropical Rainforest as that’s what these decals make me think of (but they will not necessarily be labeled that on the Nicole Diary site.) For this look I paired the decals with Cameo Colours Lacquers Coral Serves a Porpoise. I love how perfectly they match. These decals already have a white background, so you can save a step there.
Anchors Away
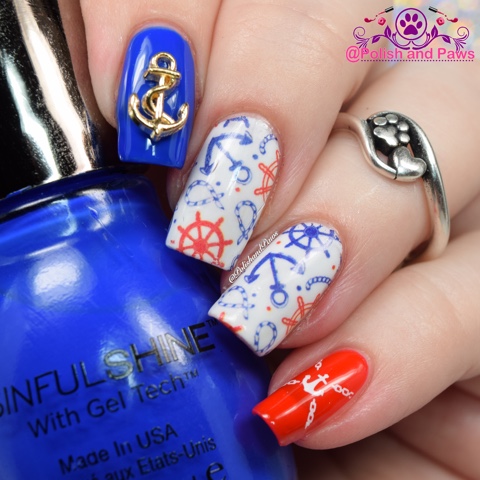
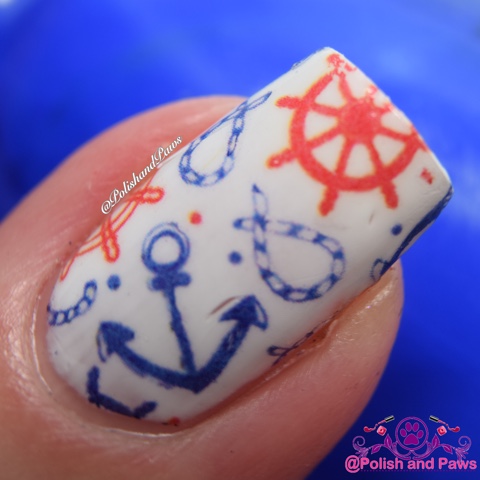
I had lots of ideas of what to pair with these sailor/anchor decals. These did not have a white background so I did paint those nails with a white base, Essie Blanc. I then painted my first finger with Sinful Shine Endless Blue, and my pinky with Nanacoco U are my Sunshine. I stamped a simple anchor design on my pinky nail using BM-XL25. And of course the anchor nail charm was an obvious addition.
Emoticons
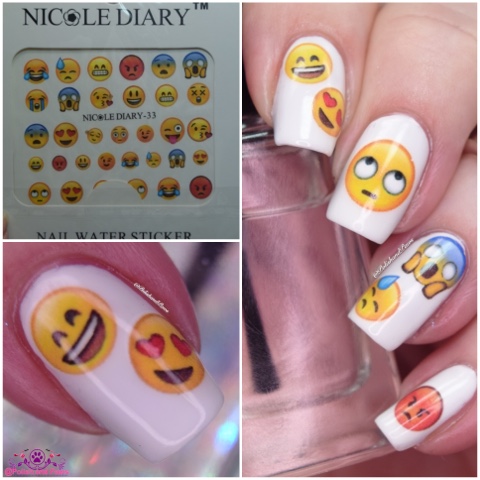
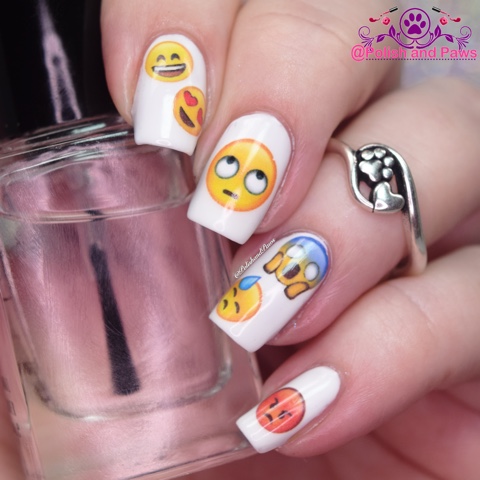
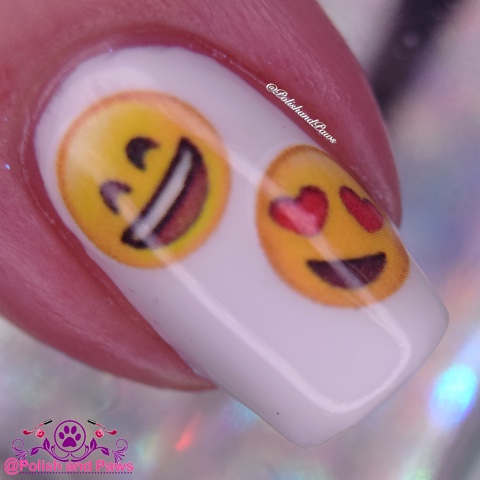
This was the only mani I didn’t add anything extra to, but it certainly didn’t need it! These emoticon decals are so cute! For this I applied a medium thick layer of Essie Blanc. Once that was dry I cut out the individual faces and placed randomly on my nails. This look just makes me grin, it’s so silly and cool!
Leaves
For this mani I started with 2 coats of white on my middle and ring finger, and 2 coats of Cupcake Polish Little Butterfly for my index and little finger. Then to tie it together a bit more I stamped the white leaves from UberChic plate 1-02.
Spring Flowers
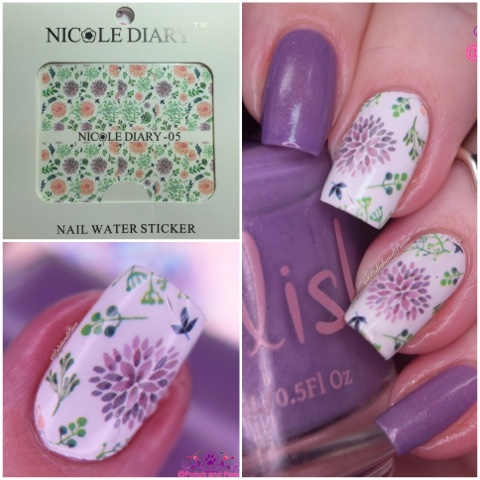
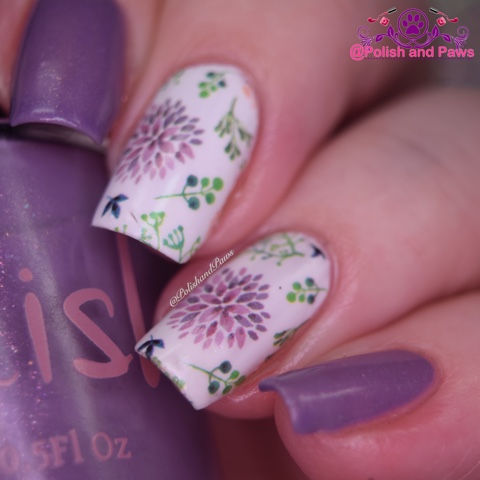
Since the flowers on these decals were both pink and purple I chose a purple polish with pink shimmer, Pahlish Test Batch: Rose Festival, for the accent color. Once again a medium thick coat of Essie Blanc for the base of the decals. This is a very simple look but easily one of my favorites! It’s both pretty and subdued with a touch of spring flair.
My Thoughts: I was very impressed with the quality of Nicole Diary nail water decals. I had no troubles with them, and they have some very unique designs. The only issue to be aware of is top coating before the decal is nice and dry, that can cause your decal to kind of run with your polish; but that is the nature of water decals in general and certainly isn’t isolated to these. Just let them dry a few minutes before top coating and you should be all set!
Nicole Diary water decals and nail art supplies are available on Amazon and AliExpress. You can also follow Nicole Diary on Instagram.
Use my code Tif2016 in the notes section to receive a free gift with your order!
Until next time, stay polished!


