Good Morning Friends! I’m back today with an all new blog design that I’m stupid excited about! Didn’t notice? That’s okay, I’ll wait here while you click around a bit… So do you like it? I hope so! I’d love to hear your thoughts at the end of this post.. but first let’s take a look at this months Square Hue Sail Windward Island Adventure Collection box. And of course another nail art tutorial using this months colors.

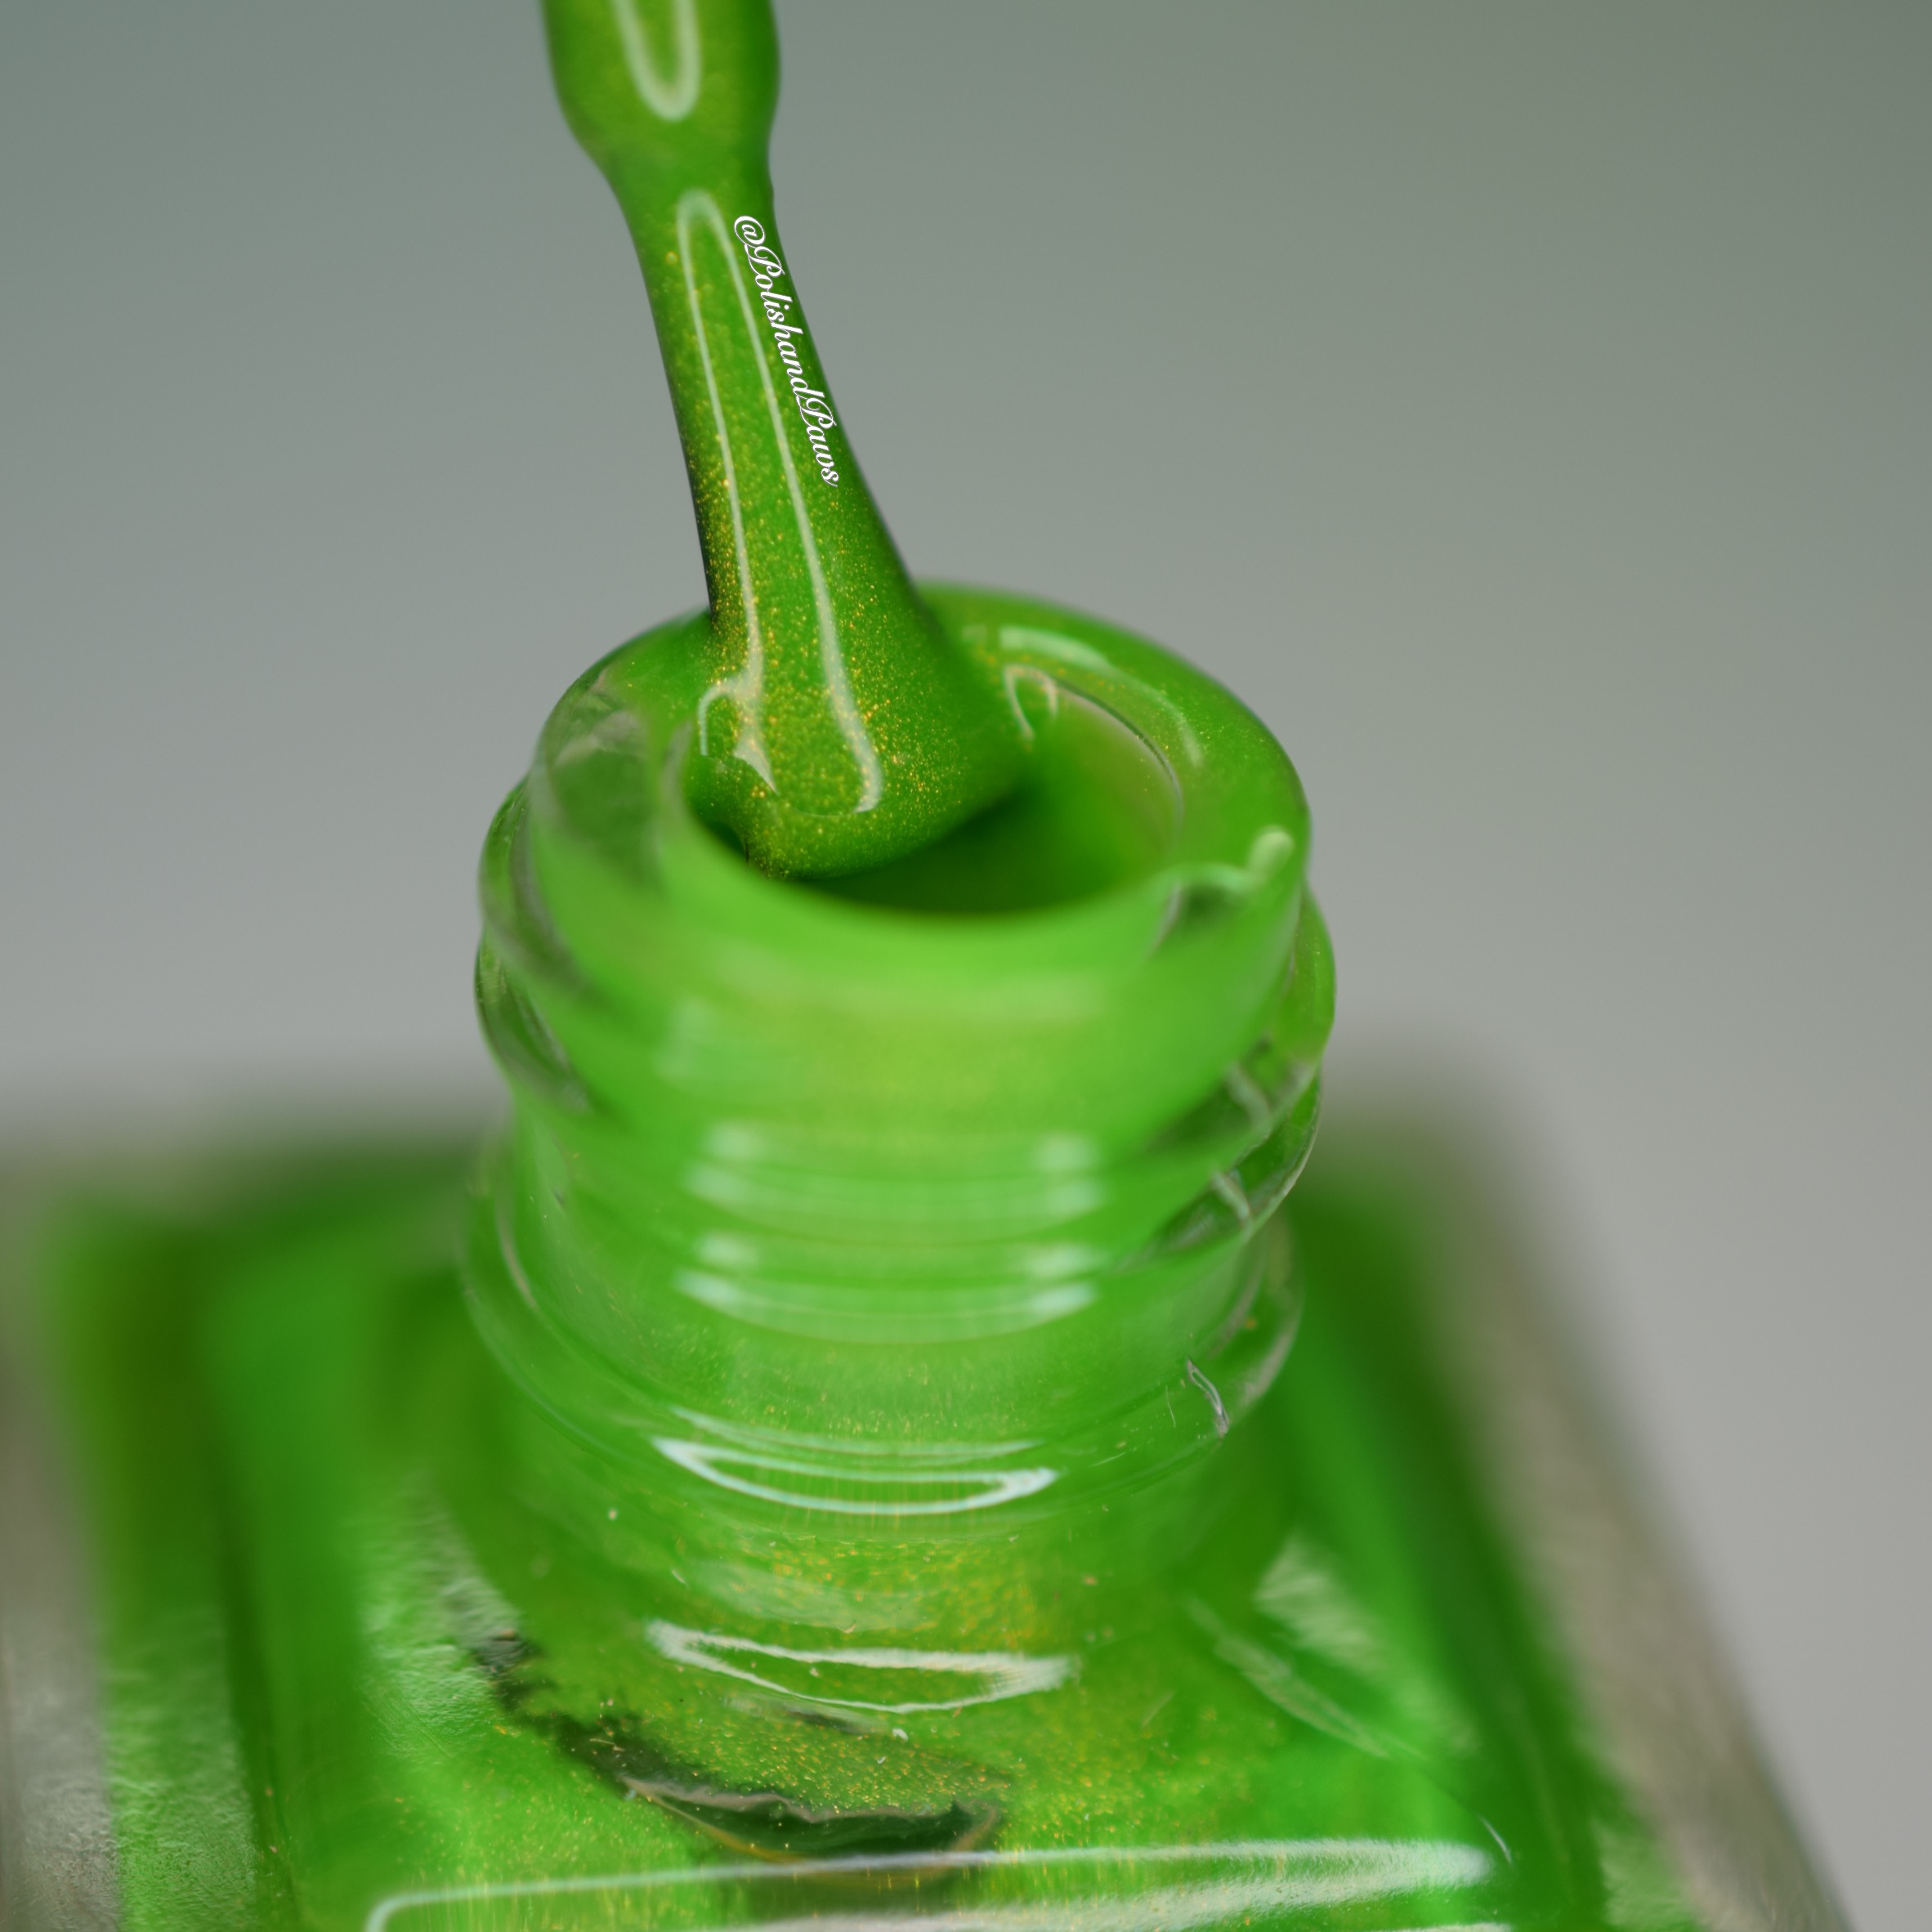
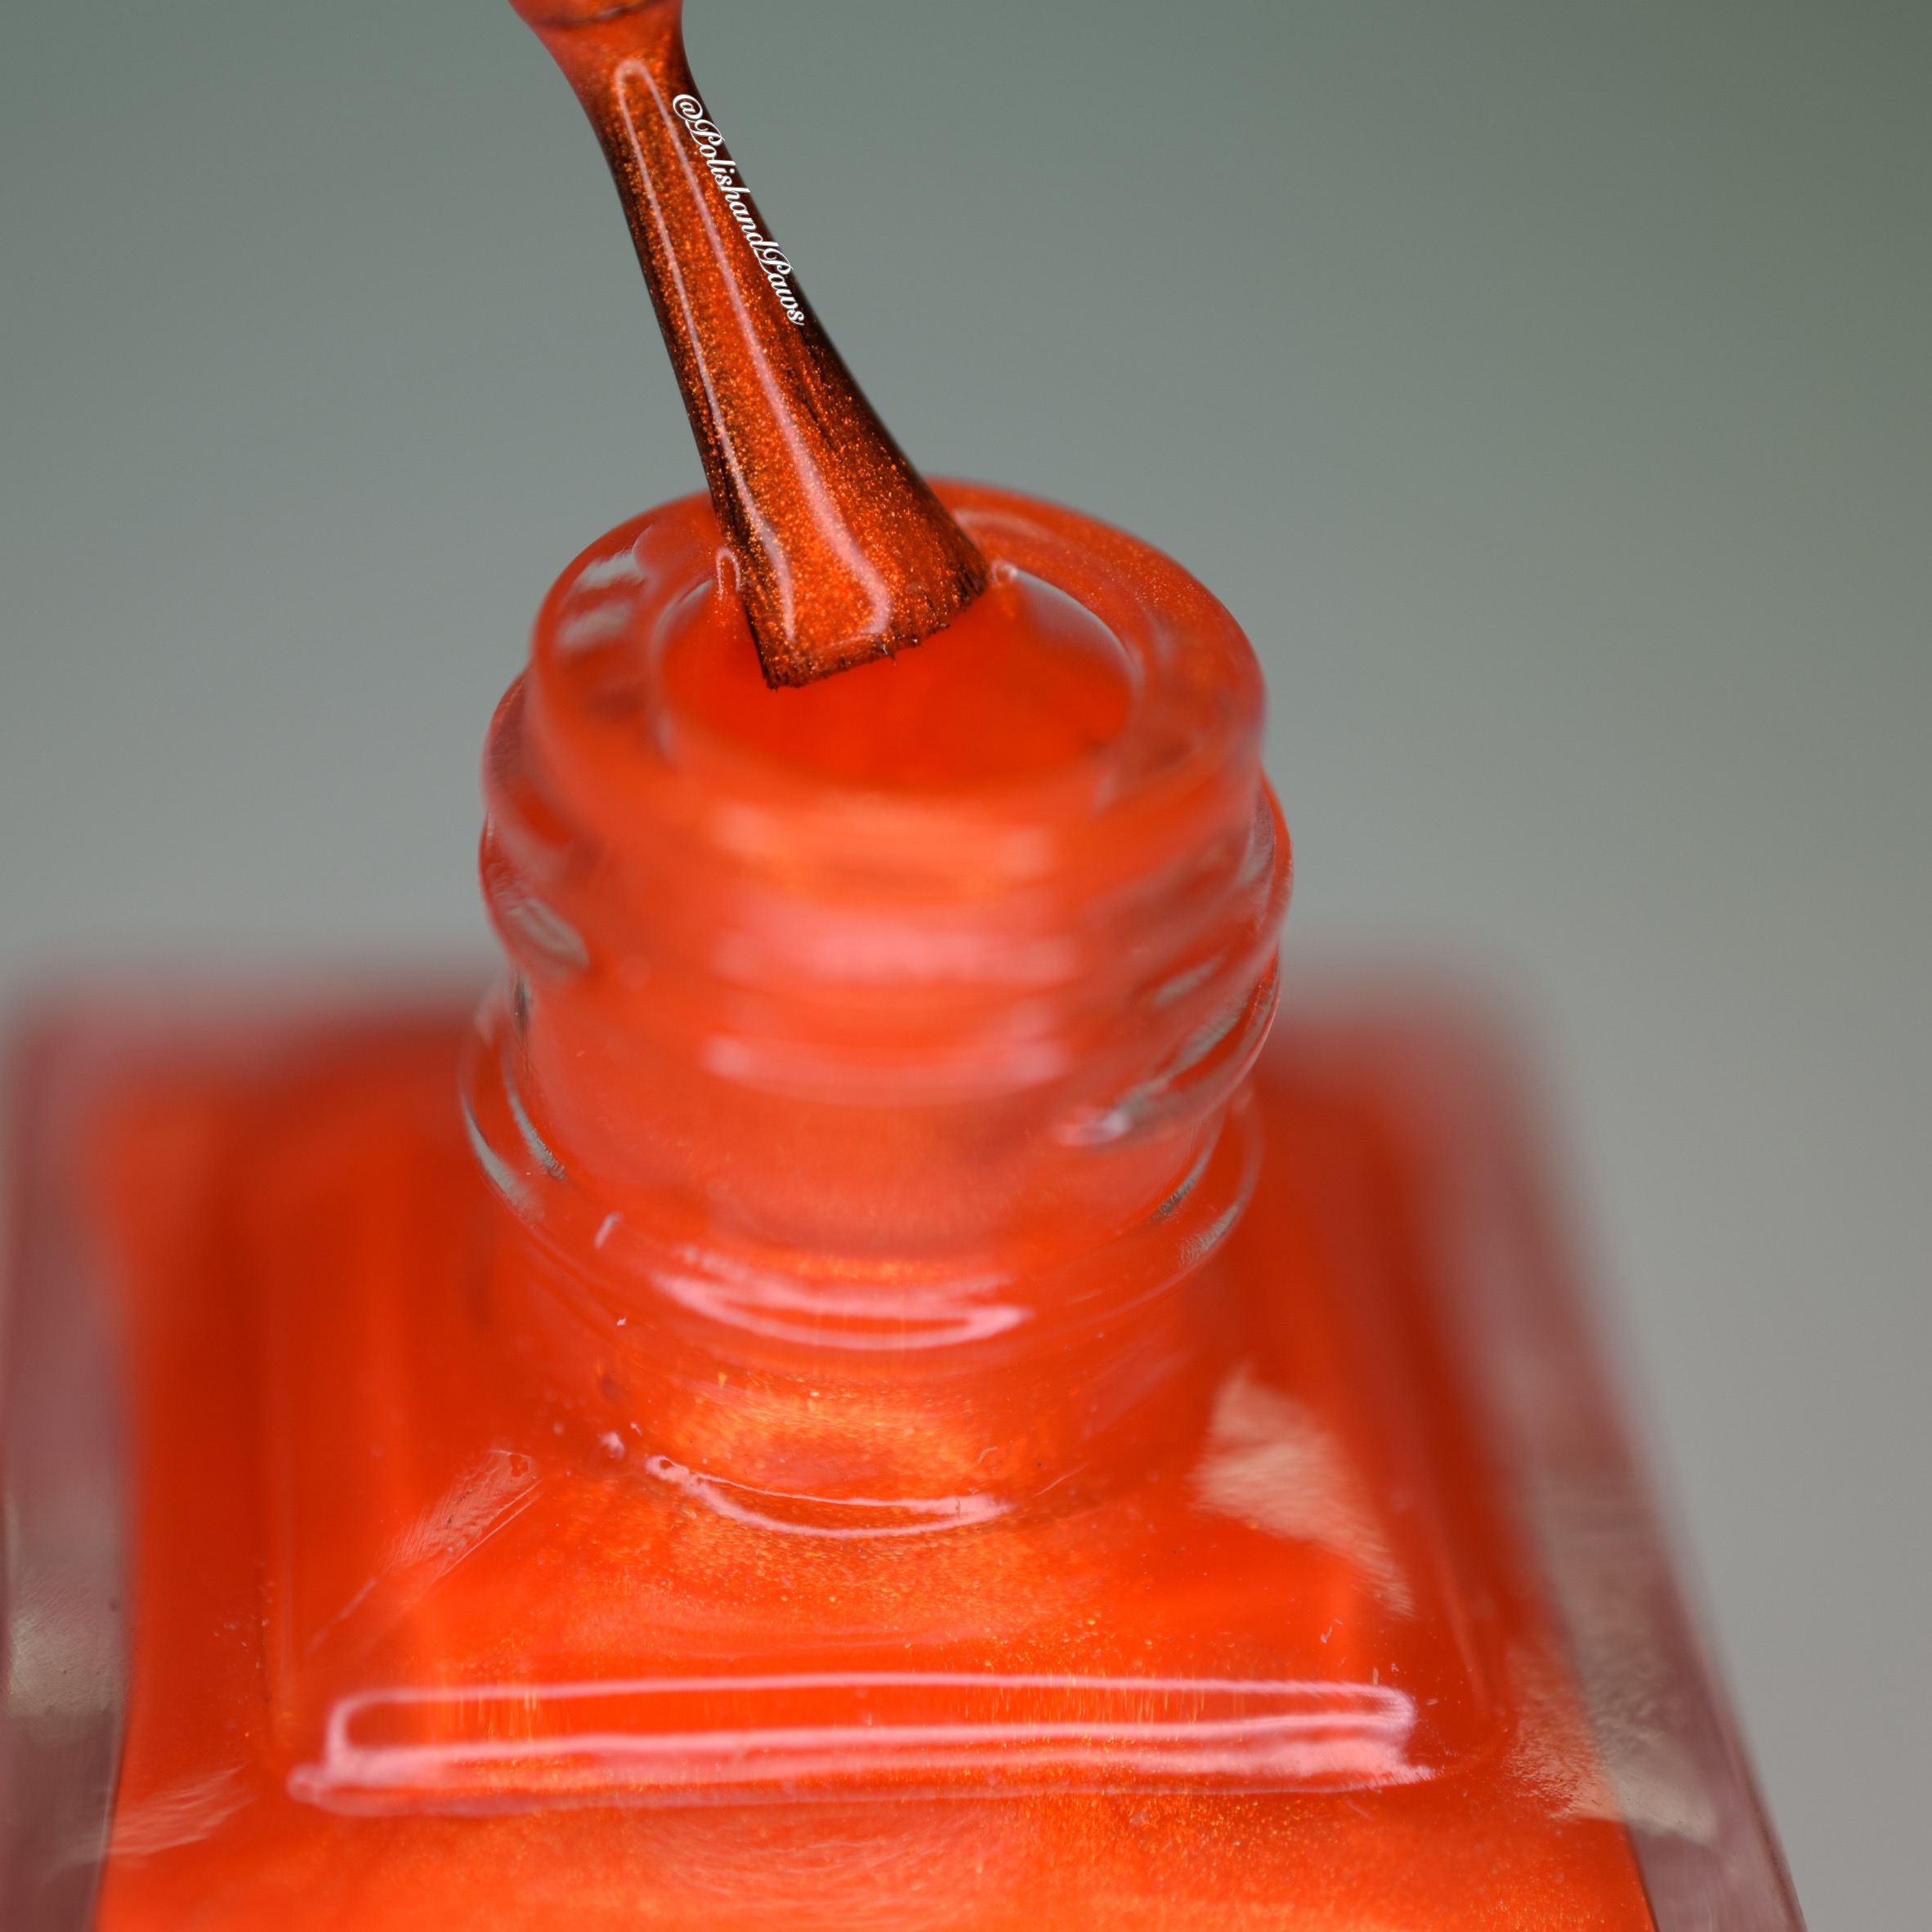
This months box has 3 amazing bright summer shades, 2 shimmers and 1 creme; Martinique, St. Lucia, and St. Vincent.
Martinique is a bold spring green shimmer polish.

St. Lucia is a deep yellow creme with orange undertones.

St. Vincent is a bright orange shimmer polish with red undertones.

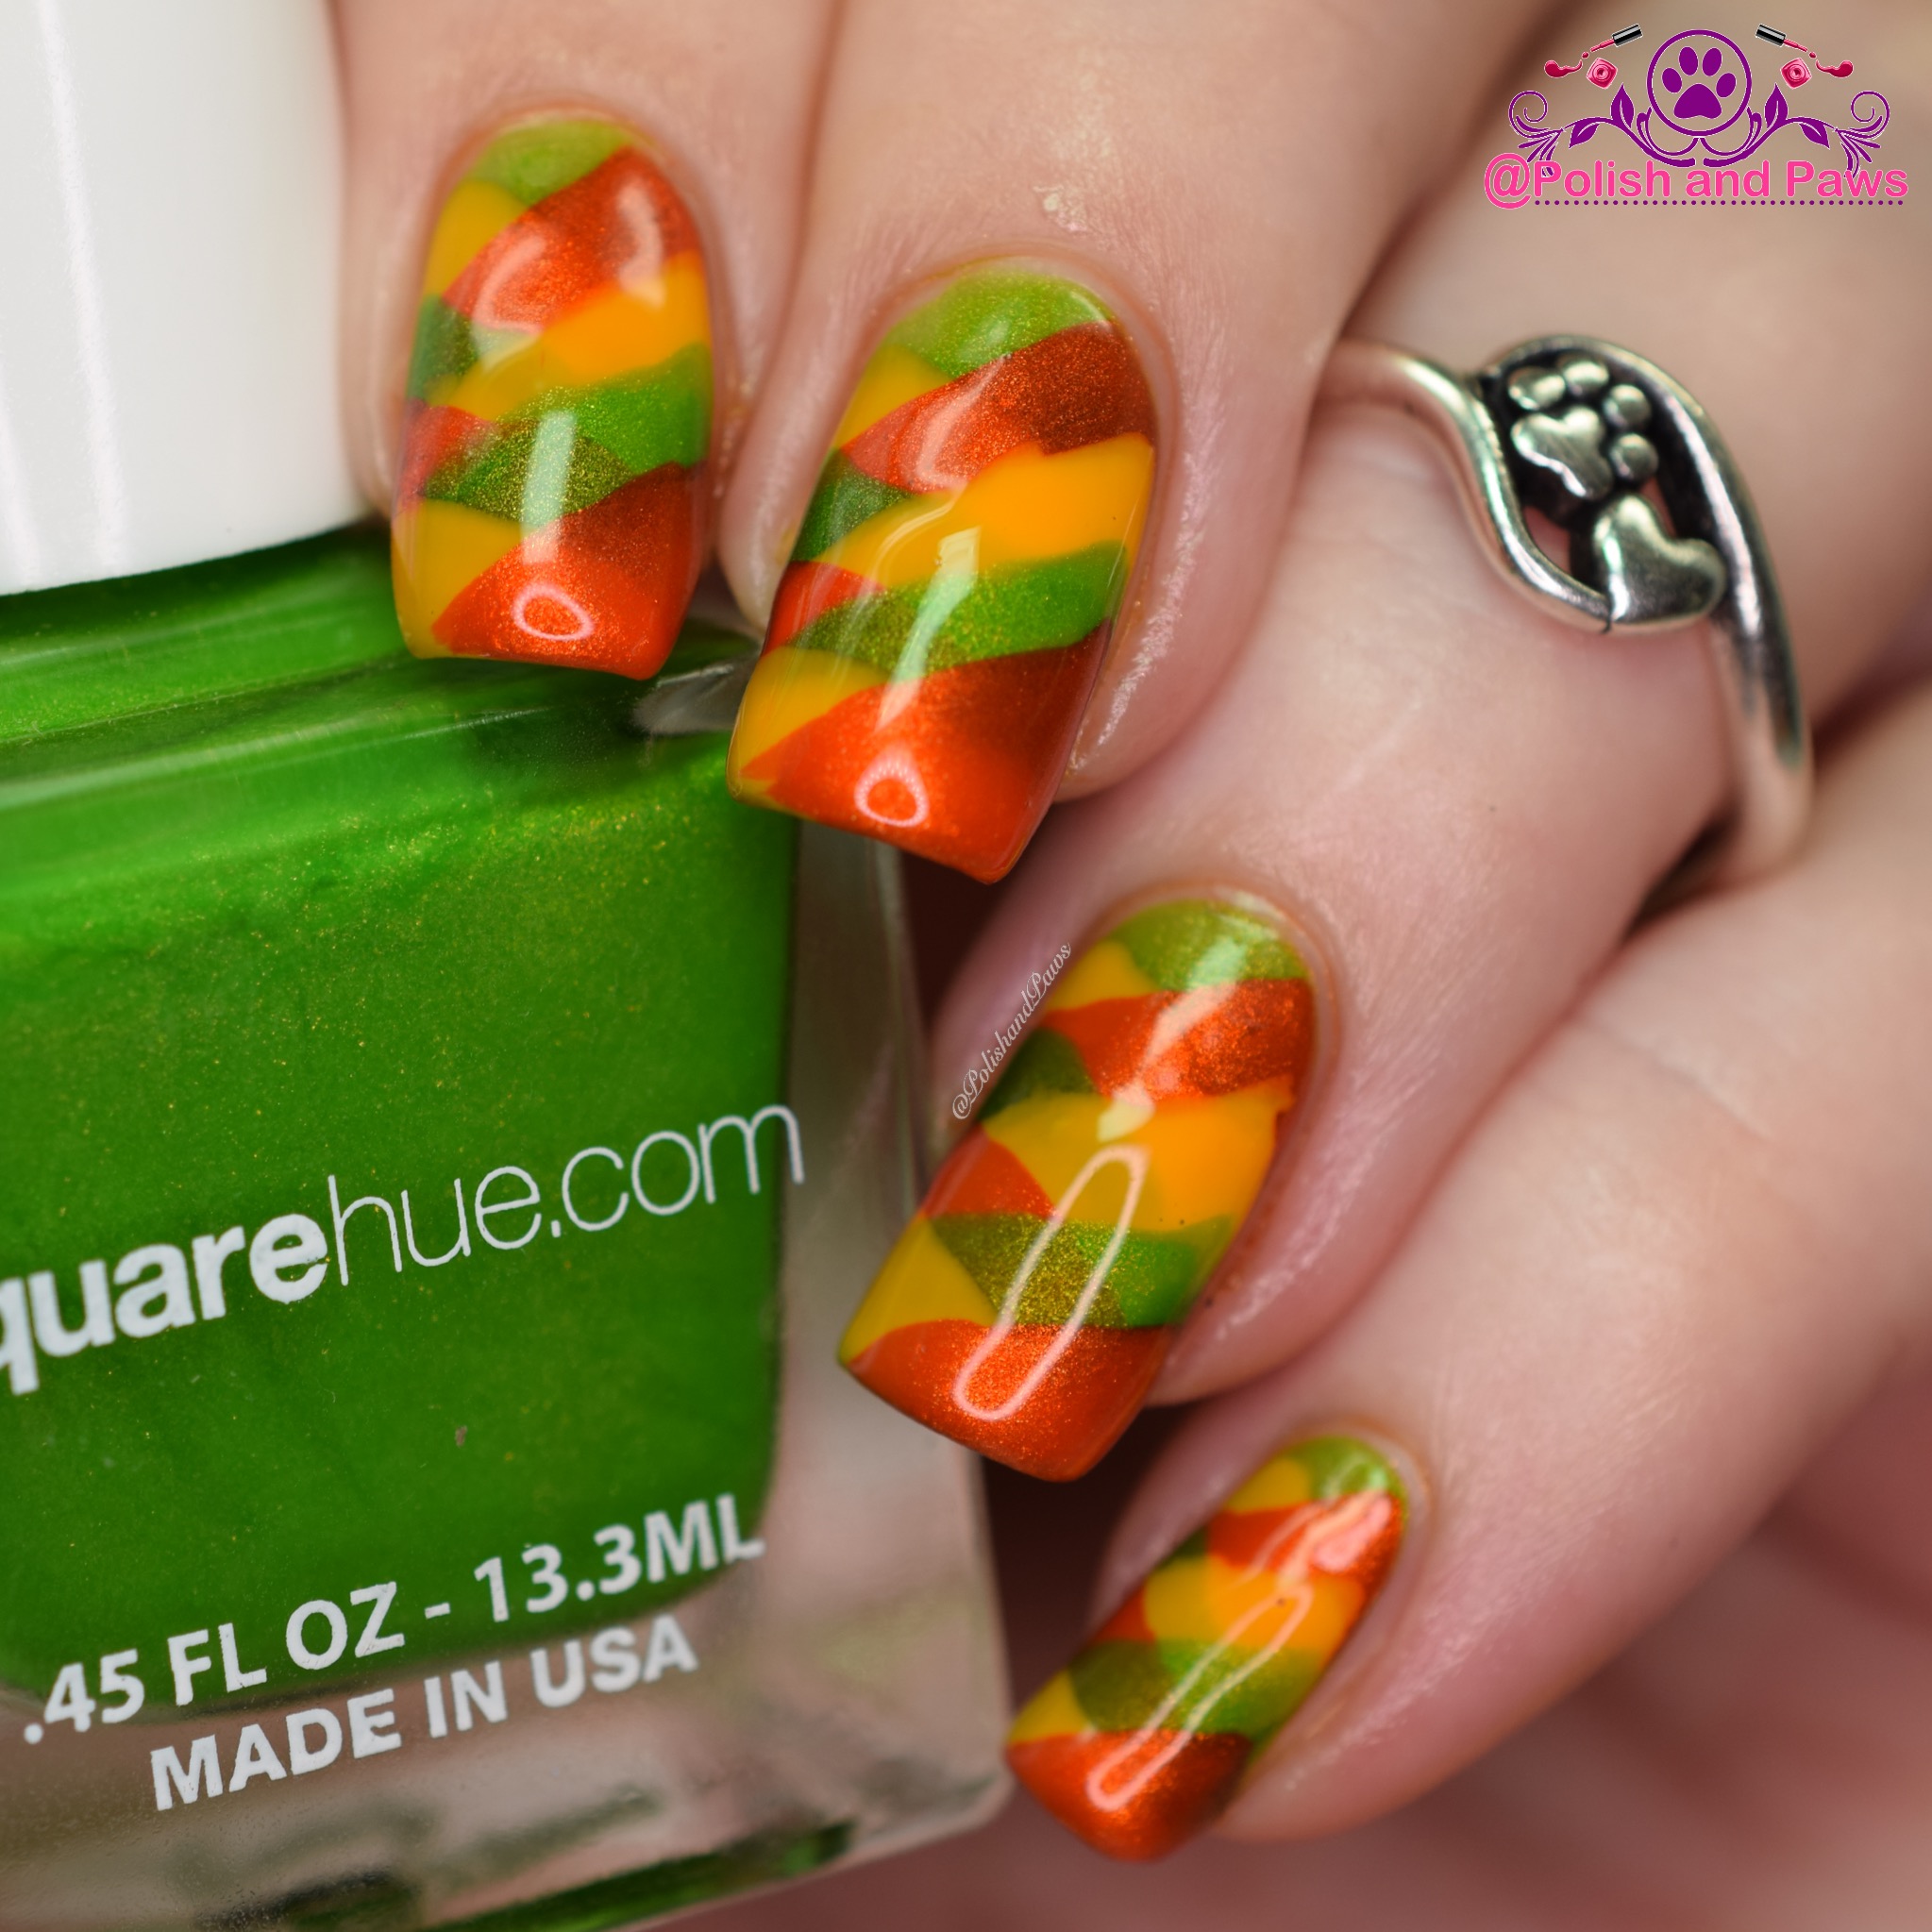
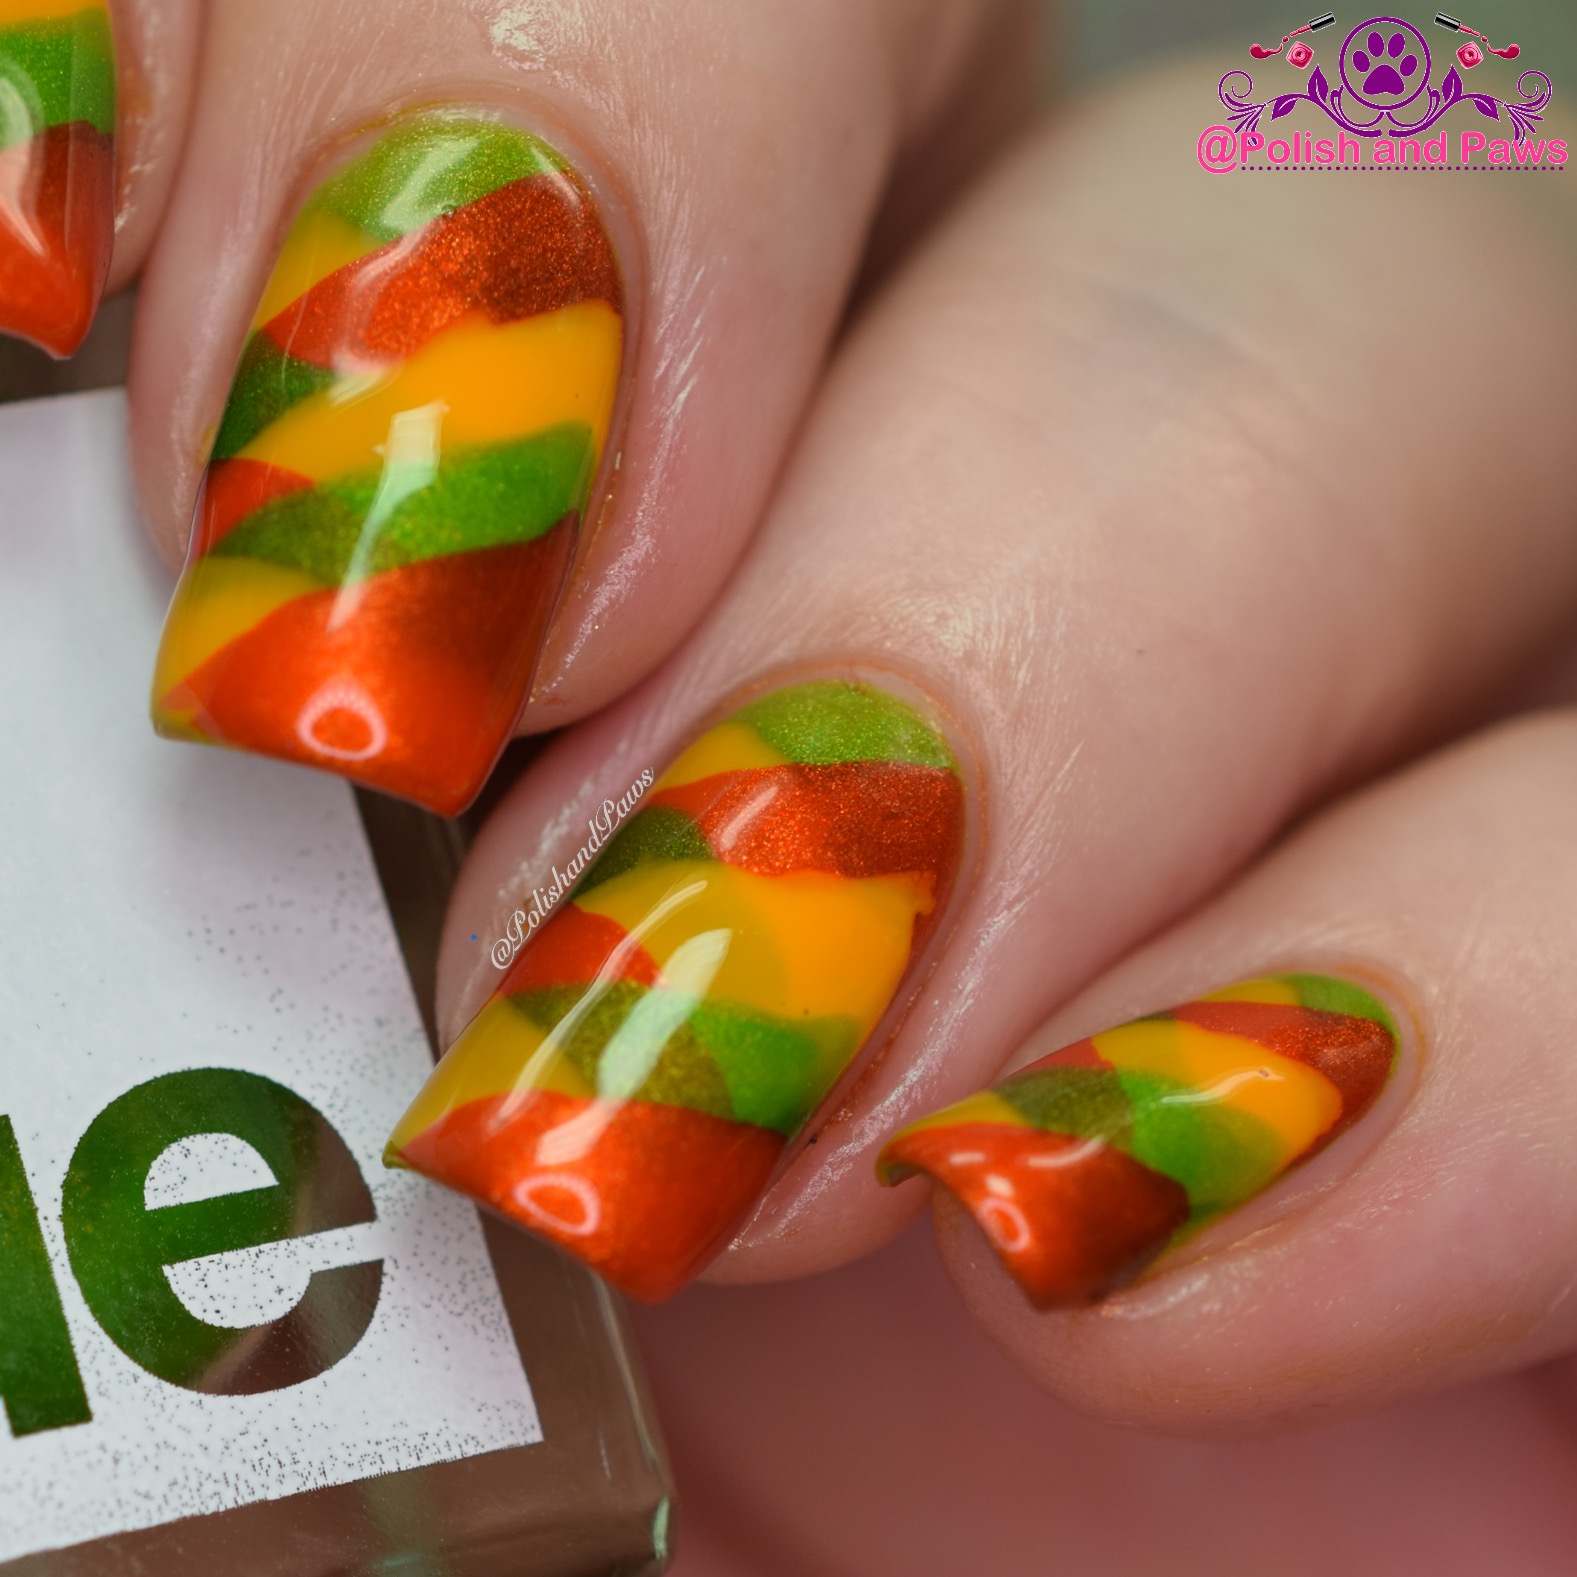
I racked my brain for a bit trying to decide what type of mani I wanted to do with these shades. Would you believe it came to me in a dream? Yes, I dream about polish. Fairly regularly even. Anyway, my dream told me to do Braided Nails (sometimes called Fishtail Nails). Who am I to argue with my own dreams.

This look is a bit more involved than most of the beginner nail art looks I post, but since it does not require any additional tools or supplies anyone can do it with a bit of practice.
To do Braided Nails you want to choose 3 shades of polish, fairly opaque polishes help. Here I started with 2 coats of Martinique. Once dry to the touch I swiped one coat of St. Lucia diagonal across the nail. Wait till dry and follow with a diagonal swipe in the opposite direction of St. Vincent. Then in step 4, starting back with Martinique, apply one stroke slightly overlapping the first stroke of St. Lucia (in step 2.) Continue like this with alternating strokes in each step, using the same order of polishes.

How many steps you have, ie layers, will depend on the width of your strokes and the length of your nails. Your end result should look something like this.
I hope you like this look! Have you ever tried Braided Nails, or maybe you are inspired to now?
Until next time, stay polished!


