
I hope you all are having a good week. I have had a little lull in swatching, so I’ve enjoyed a little time for some nail art. This mani I’m showing you today however took far more than a little time. I chalk all that up to a learning curve though. Let’s take a look…


Last month when I was choosing a few items to review for Born Pretty Store I came across nail foil, I had been wanting to try it so I picked out this holographic silver. When it arrived I realized I didn’t have any foil glue, so I had to wait a bit longer before I could dive right in.
Here are my trials and tribulations using nail foil….
Attempt 1: The foil took pretty well to the middle of my nails but the edges remained bare.
Attempt 2: I was able to get more coverage on this attempt, but still had some bare edges.
Attempt 3: This time I started noticing that the foil had a ‘roughed up’ look to it after applying to my nail. I decided to try using a medium firm stamper rather than rubbing the foil so much before pulling off the clear backing.
ELAPSED TIME: 2 + hours
After 3 failed attempts I decided that the ‘roughed up’ look was just part of using foil, or at the very least this foil. And in an effort to save myself from spending another 2 hours I decided to re-aquaint myself with some tips and tricks to successfully apply foil. Why didn’t I do that to begin with?? Good question! I wish I knew.
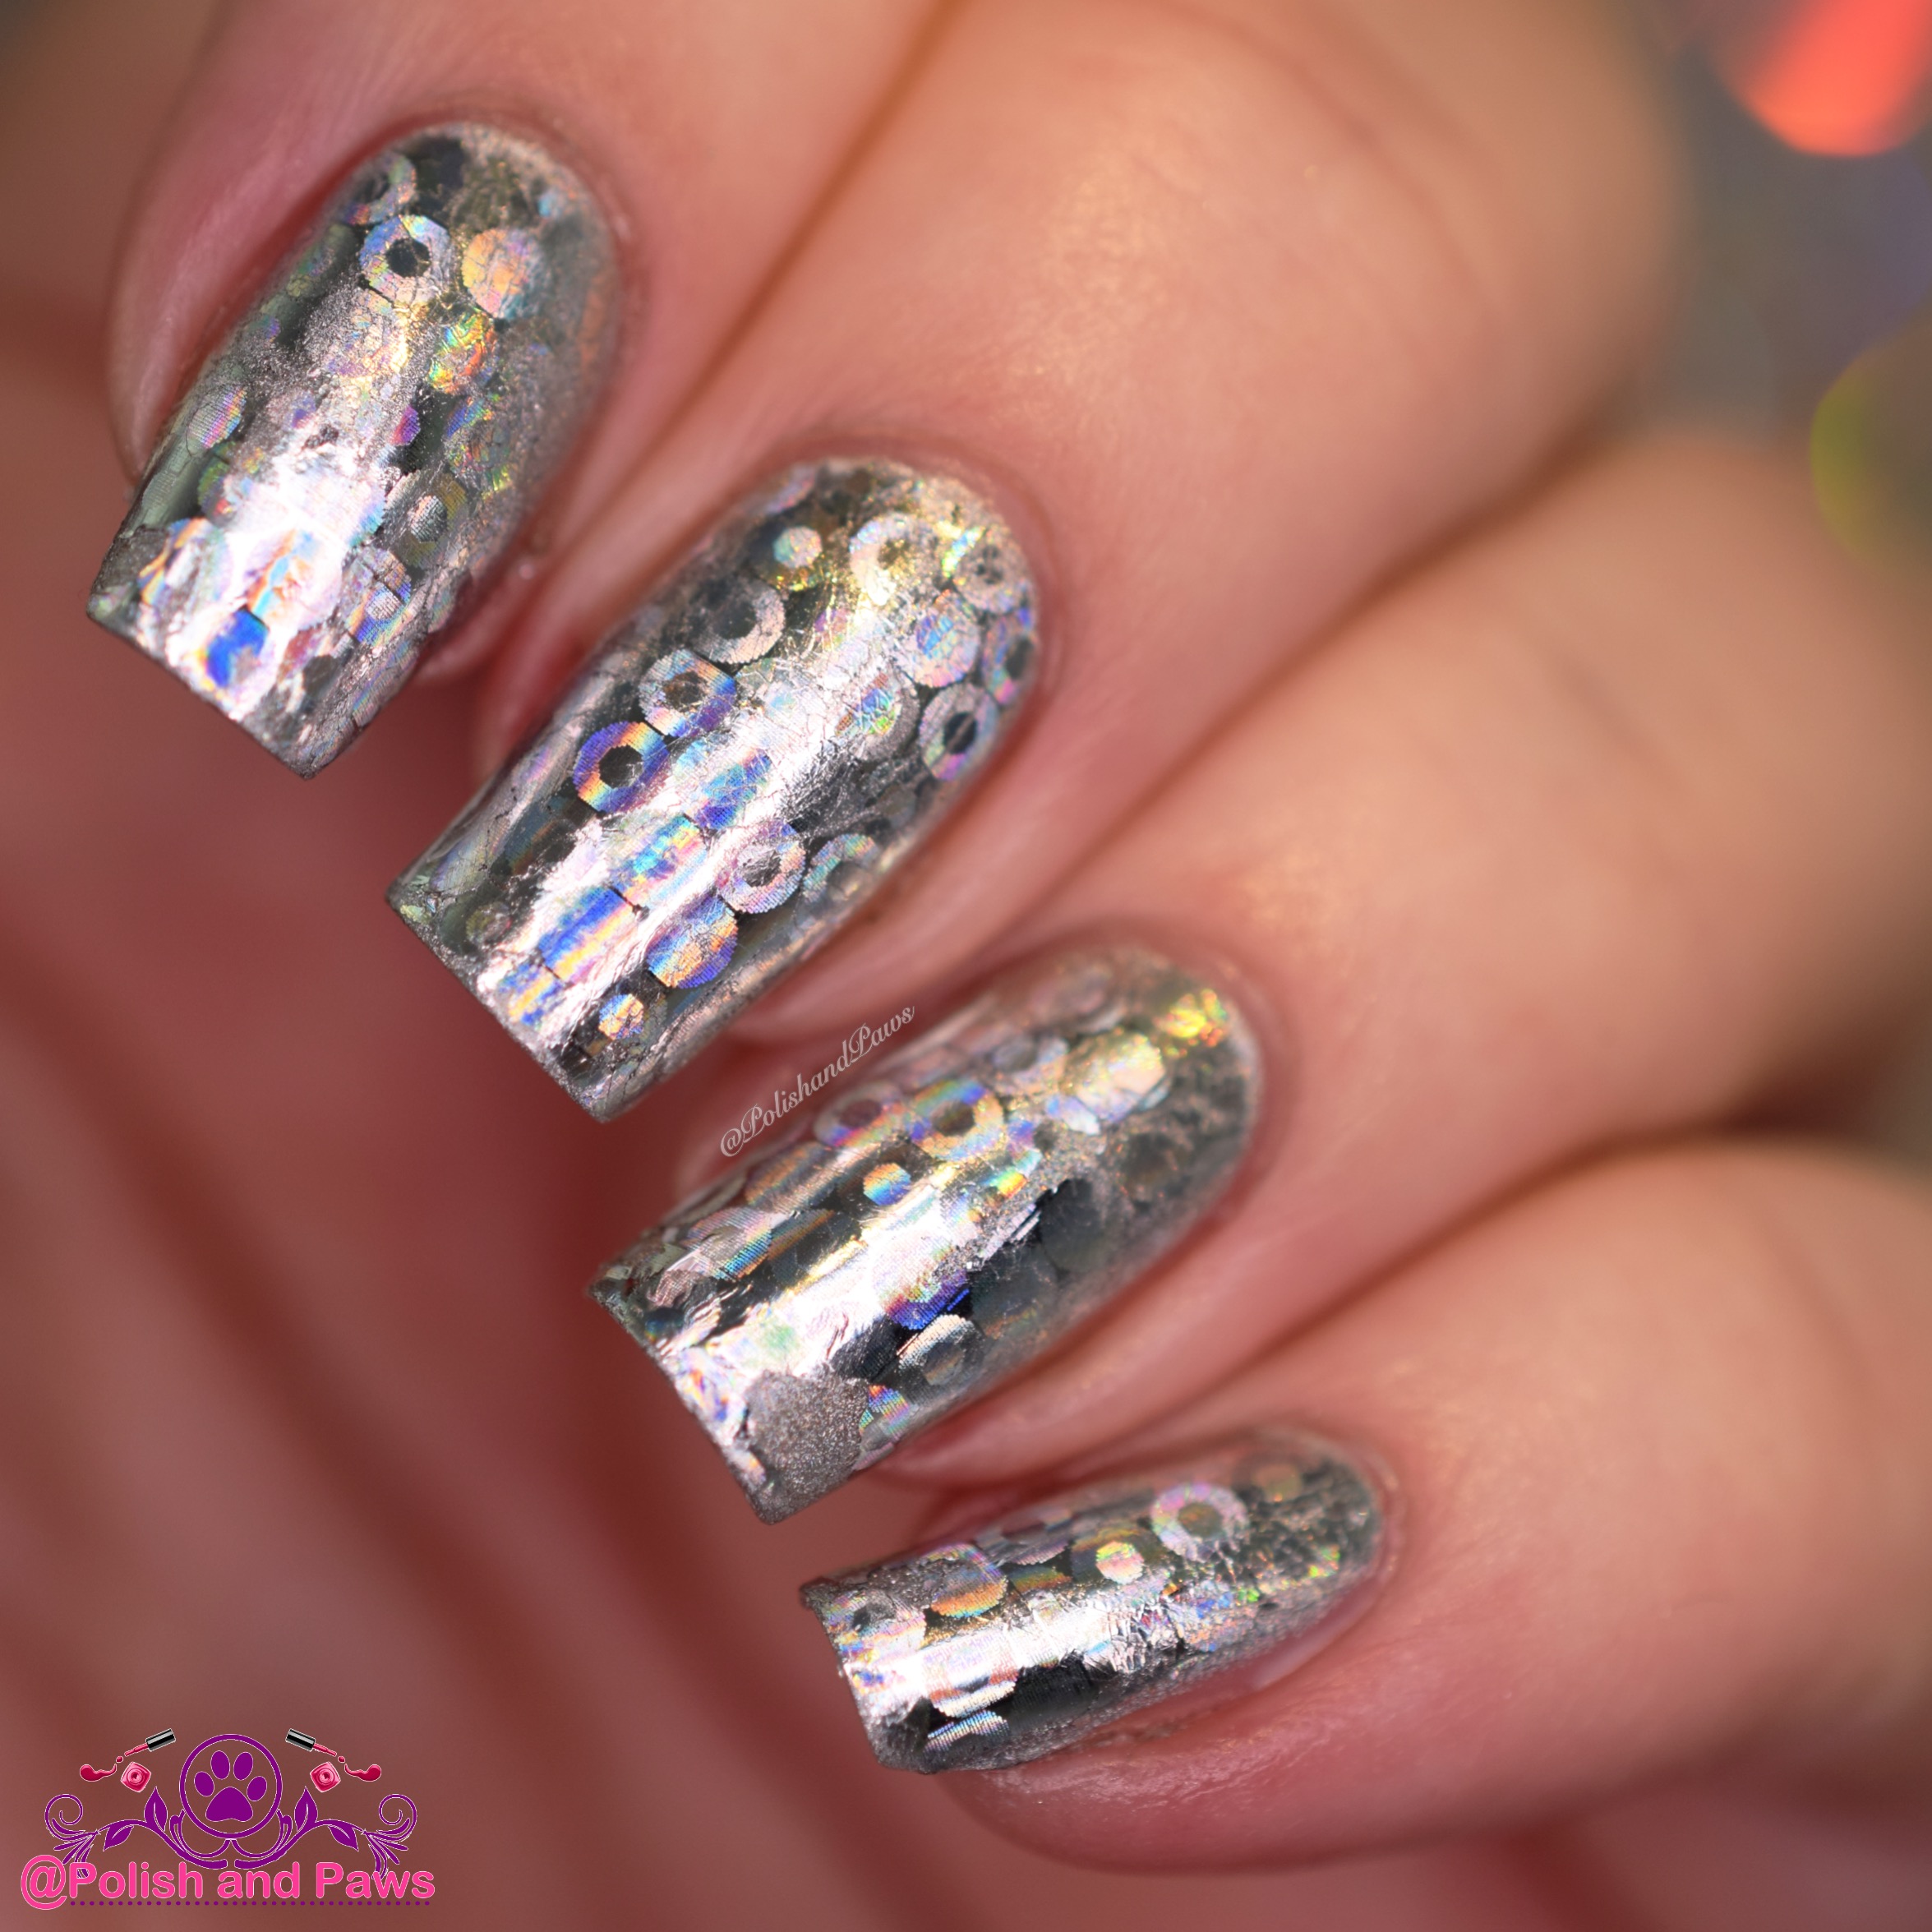
Tip #1 Start with a base polish that closely matches your foil, or as close as possible. I decided that Color Club Worth the Risque was a pretty good match in this case.
Tip #2 After base polish is completely dry apply the foil glue. After it has turned clear and looks to be ready, then wait another 30 seconds or so.
Tip #3 Press firmly but not excessively till the clear plastic backing picks up effortlessly, leaving the foil on your nails.
Tip #4 Do not top coat. I tried a number of different top coats, both quick dry and not, but they all gave the foil a dulled wrinkly appearance.
Tip #5 This might just be me but I still didn’t find myself real excited with the outcome. When in doubt.. Stamp.

Tip #6 Paw prints make everything better.
Okay, so hopefully you all can learn something from my mistakes. I recently purchased a large selection of foil so I can do lots more playing around and maybe one day I can master nail foils. In the meantime, there are always paw prints. 🐾

So are you ready to jump right into using foils? Don’t let my learning curve desuade you. After all, we can never learn if we don’t try.
Take a quick look at Born Pretty Store to see their nail foils selection, or lots of other nail art items. And remember, use my code TFFQ10 for 10% off any regular priced items.

Born Pretty Store: Website ~ Facebook ~ Instagram ~ Pinterest
Until next time, stay polished!
