I’m going to show you each kit and my swatches from my final mani (I tried each one a minimum of 3 times so am sharing the best results from each.) I will have my thoughts at the end of this post.
Sally Hansen Chrome Kit Peacock

The Sally Hansen Peacock Chrome Kit contains Peacock Powder, Salon Chrome Specialty Top Coat, and make up applicator. The additional items you will need are Sally Hansen Miracle Gel Blacky O and Sally Hansen Miracle Gel Top Coat.


Sally Hansen Chrome Kit Gunmetal

This Sally Hansen Gunmetal Chrome Kit contains Gunmetal Chrome Powder, Salon Chrome Specialty Top Coat, and make up applicator. The additional items you will need are Sally Hansen Miracle Gel Blacky O and Sally Hansen Miracle Gel Top Coat.


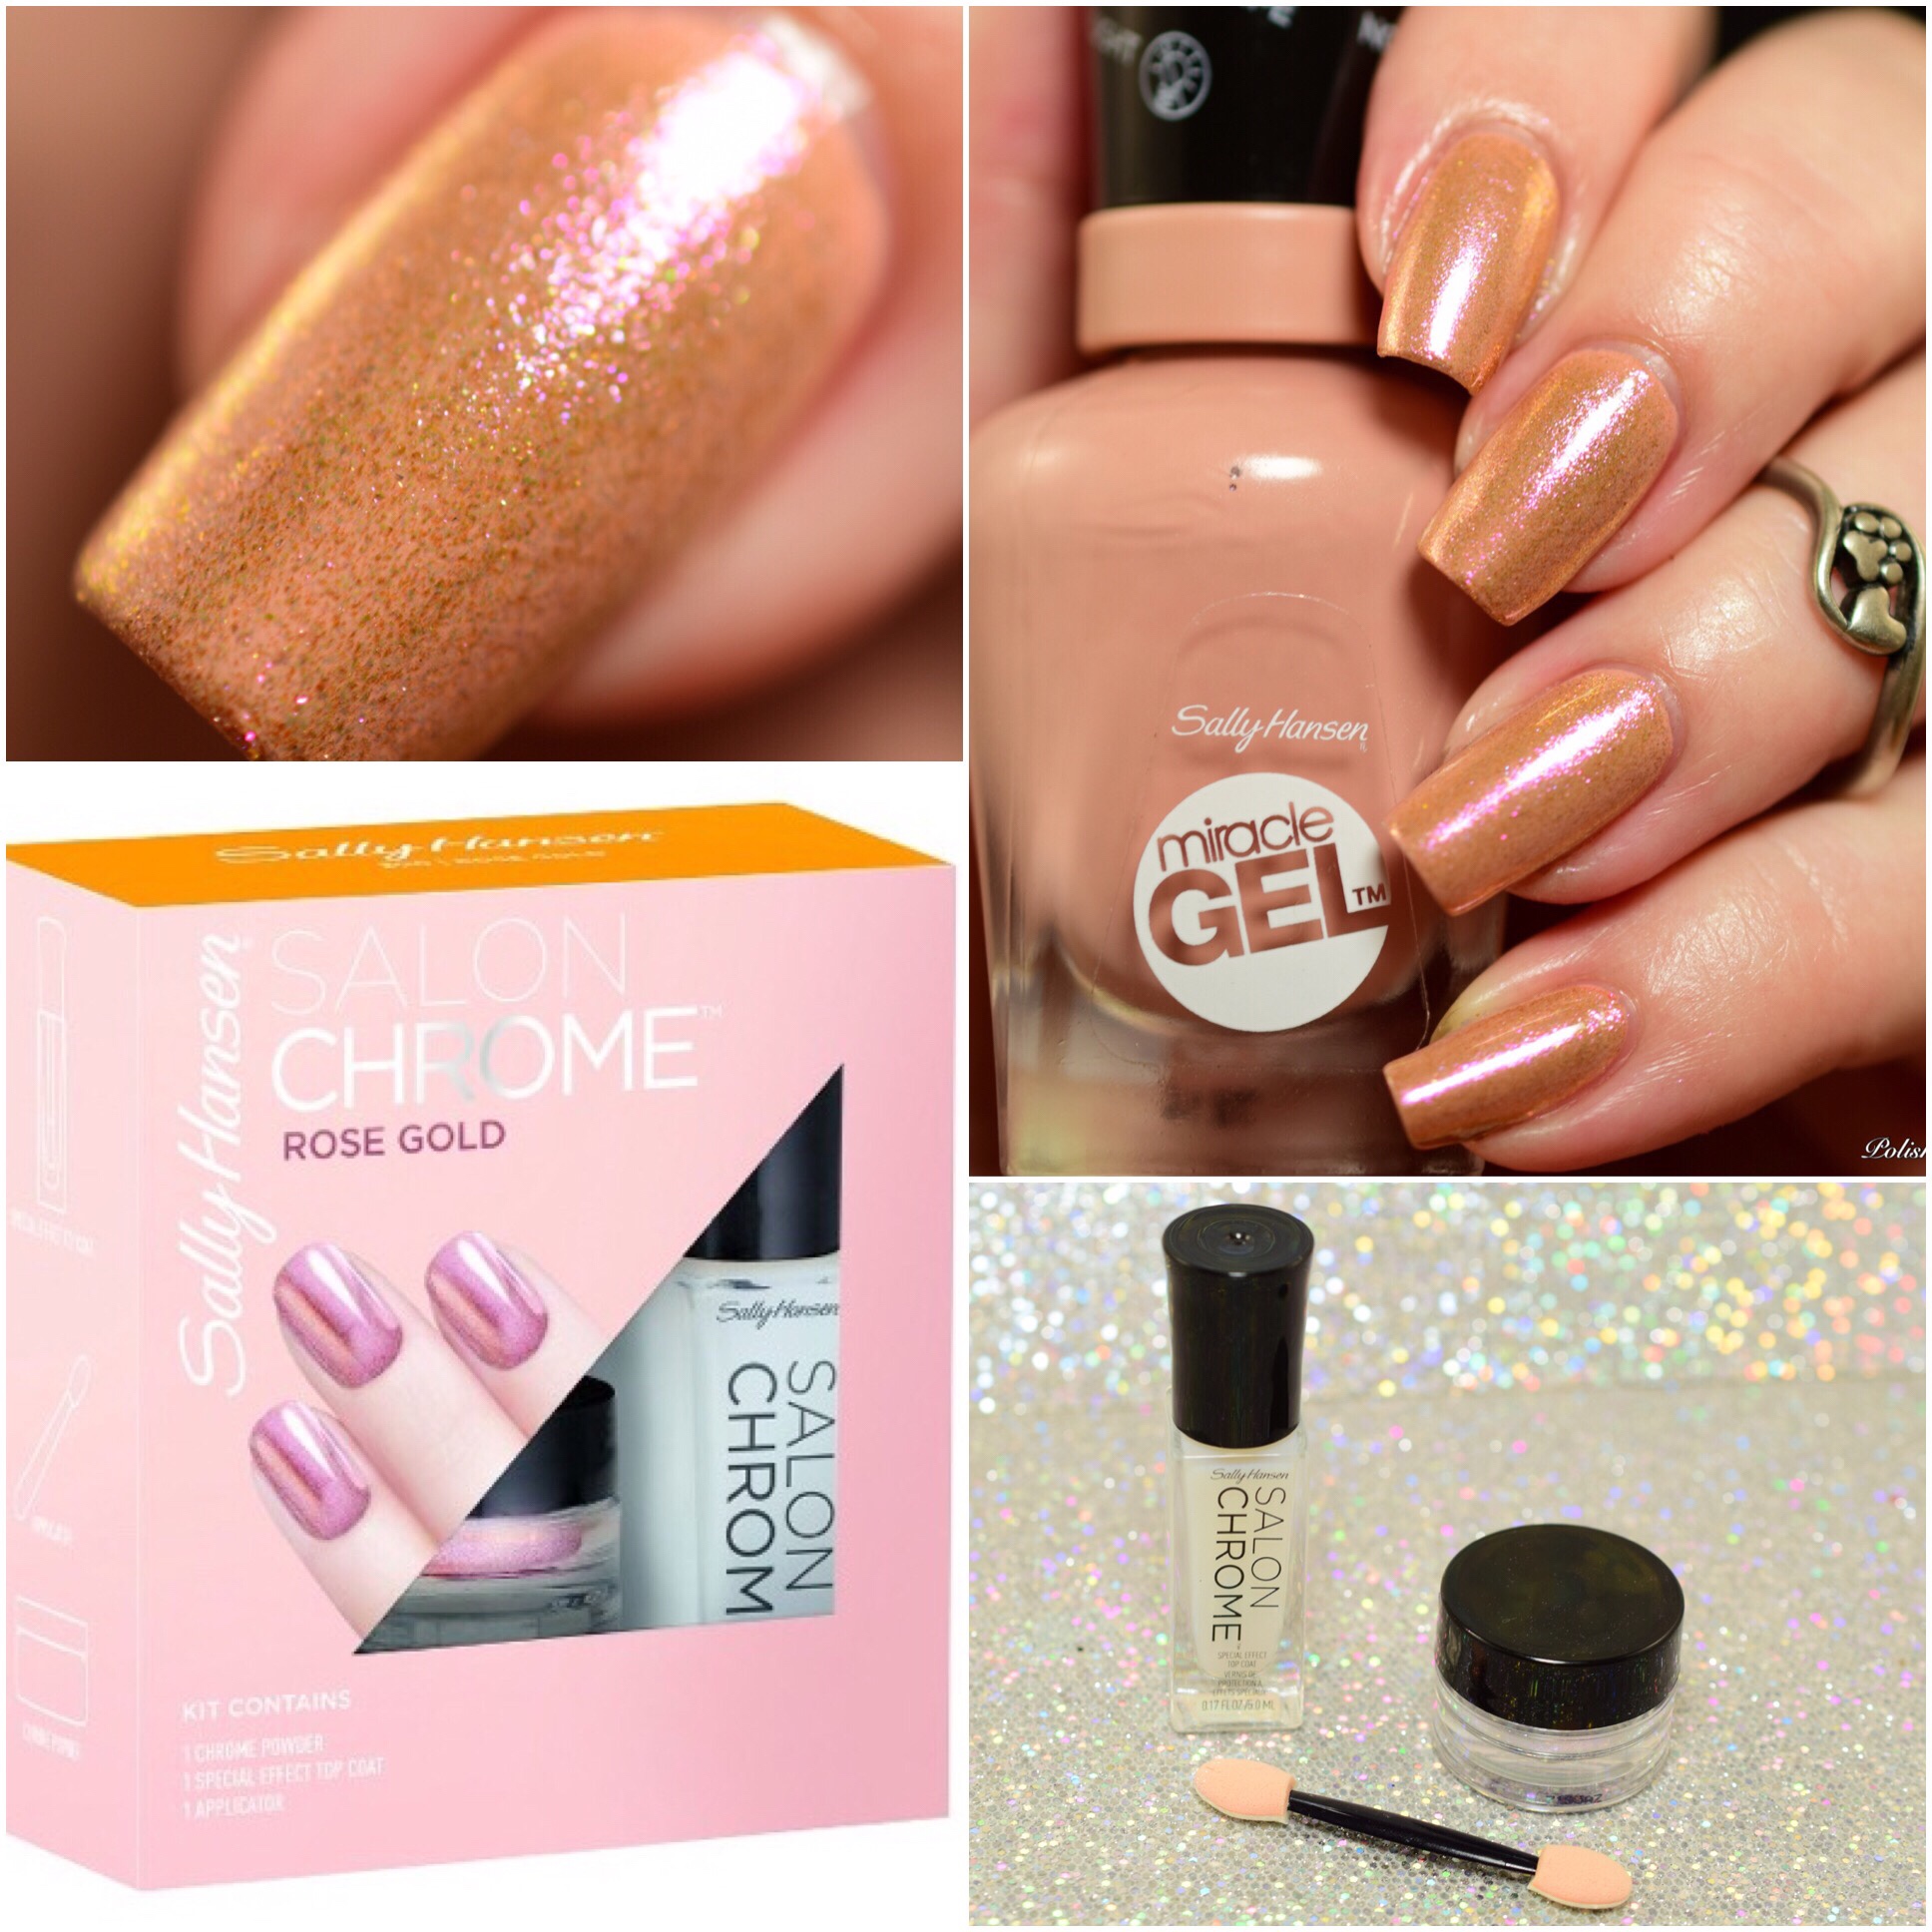
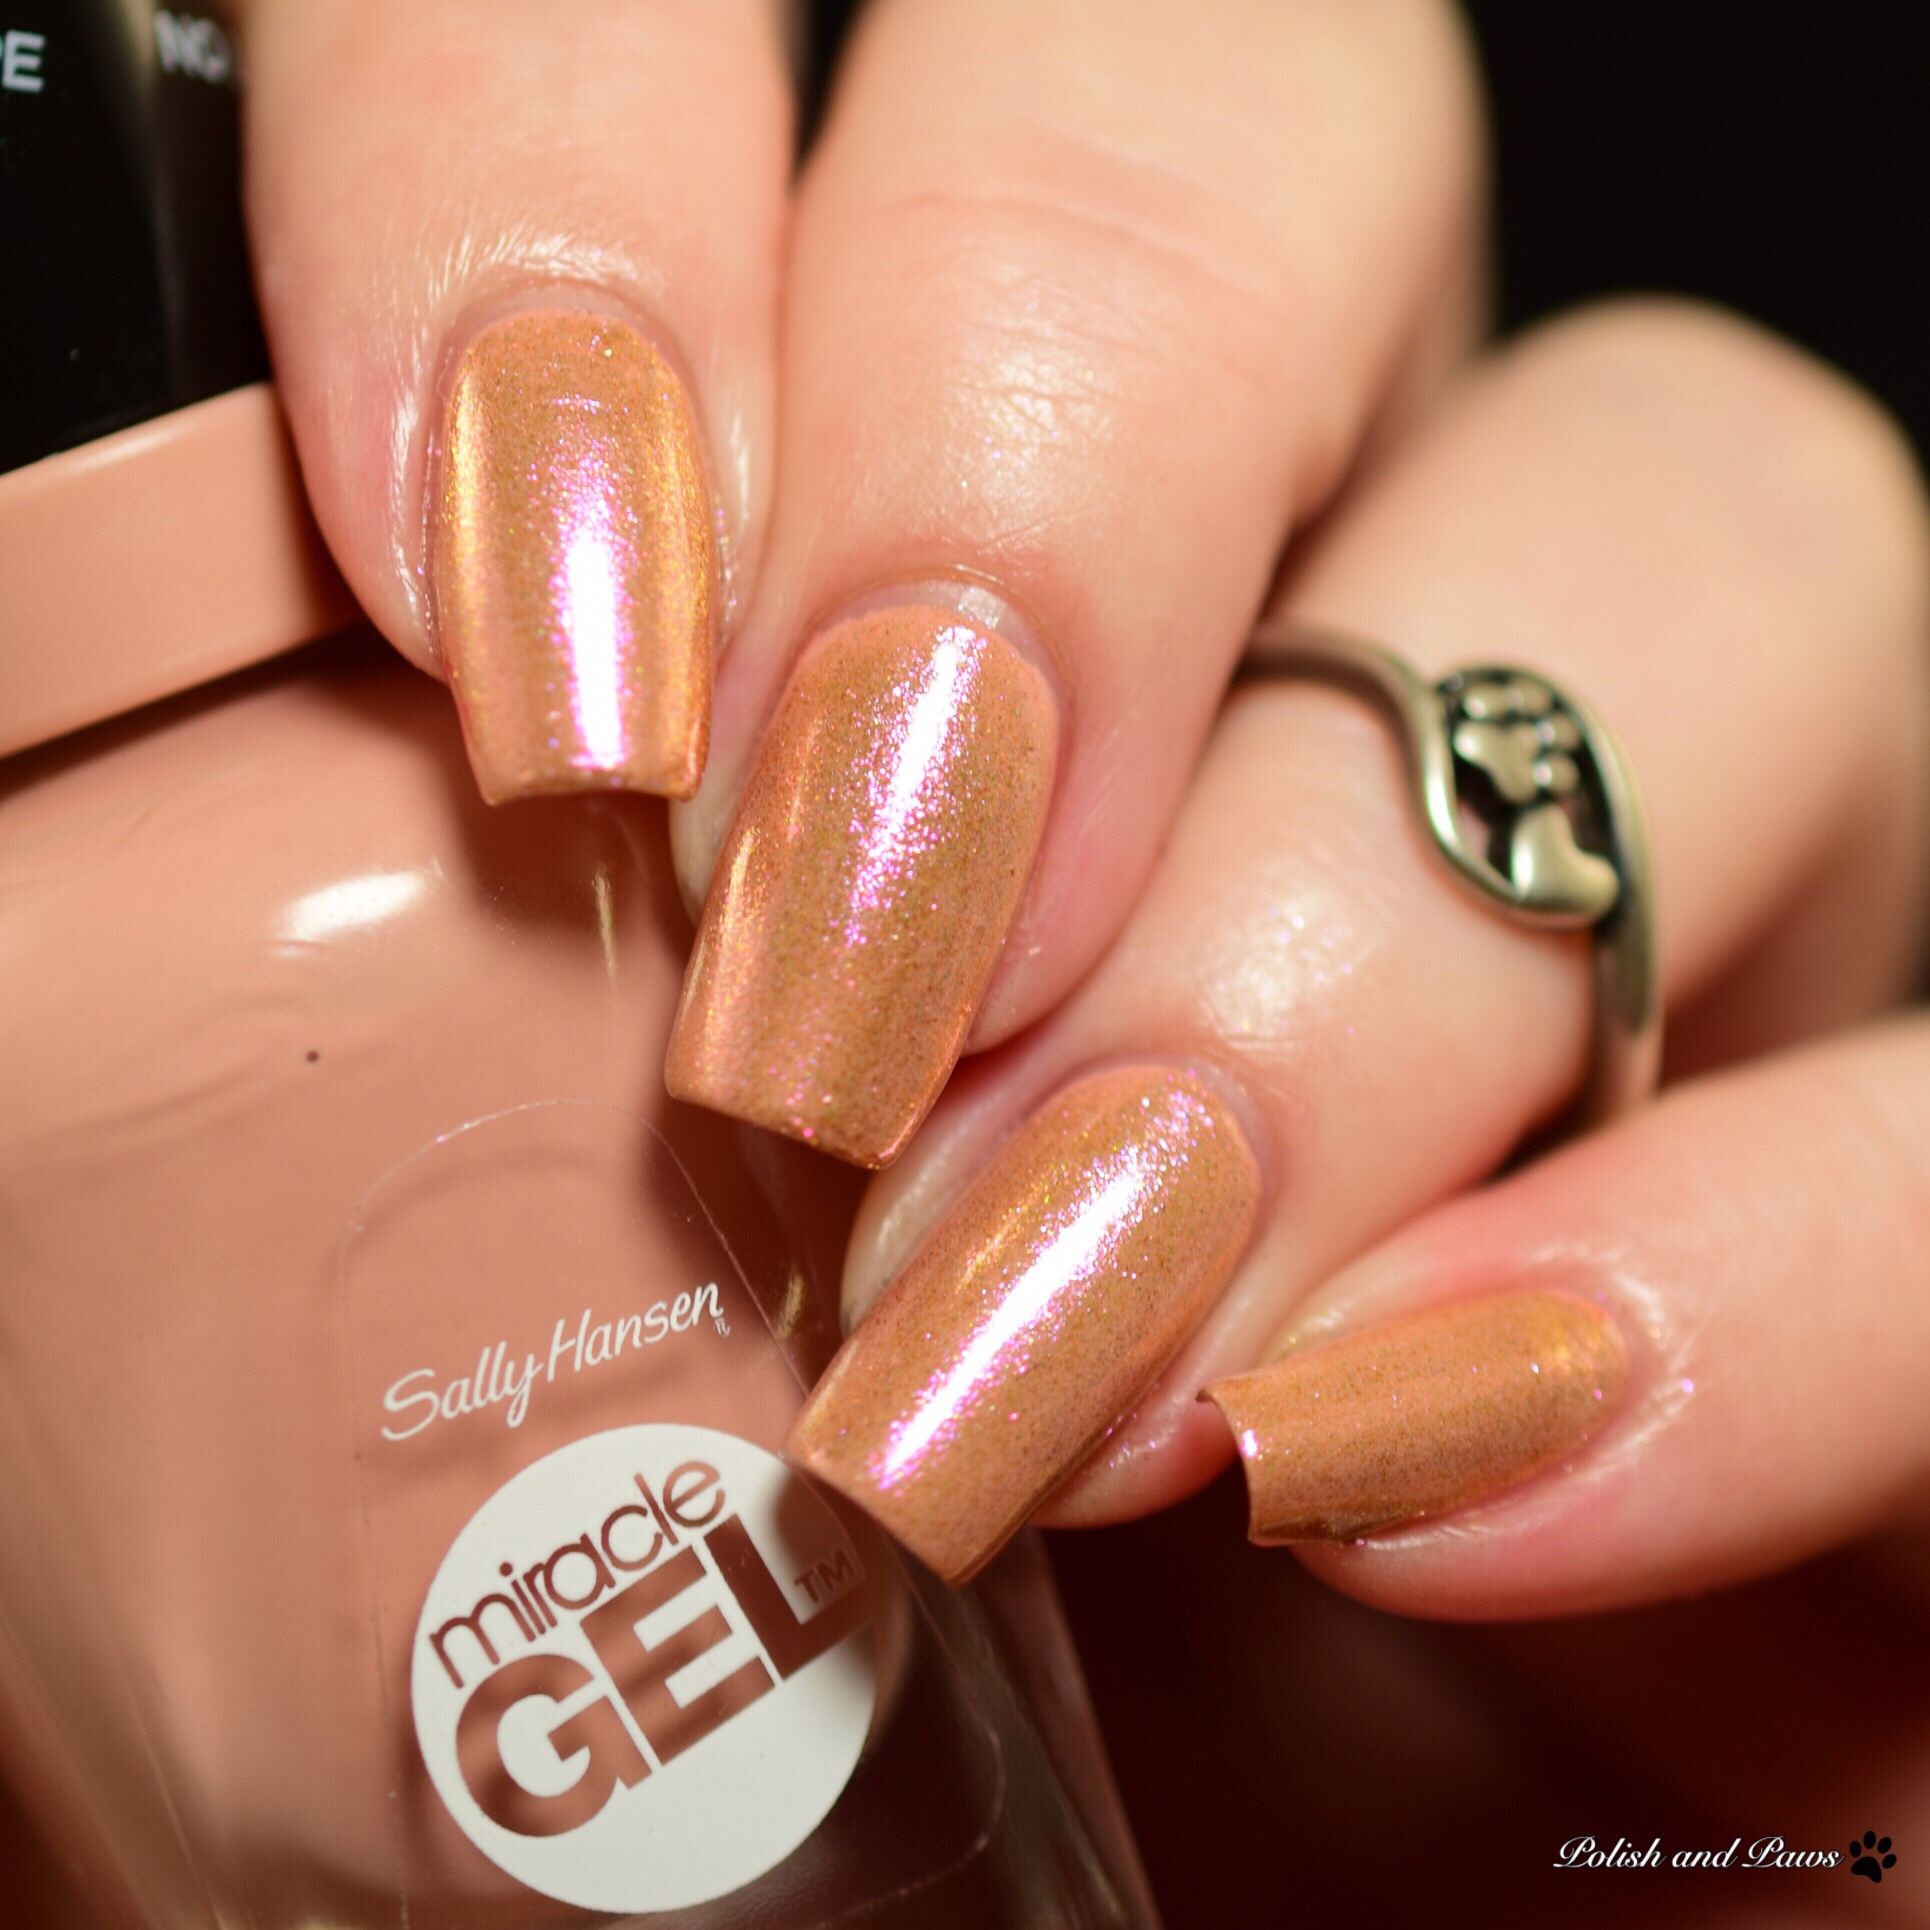
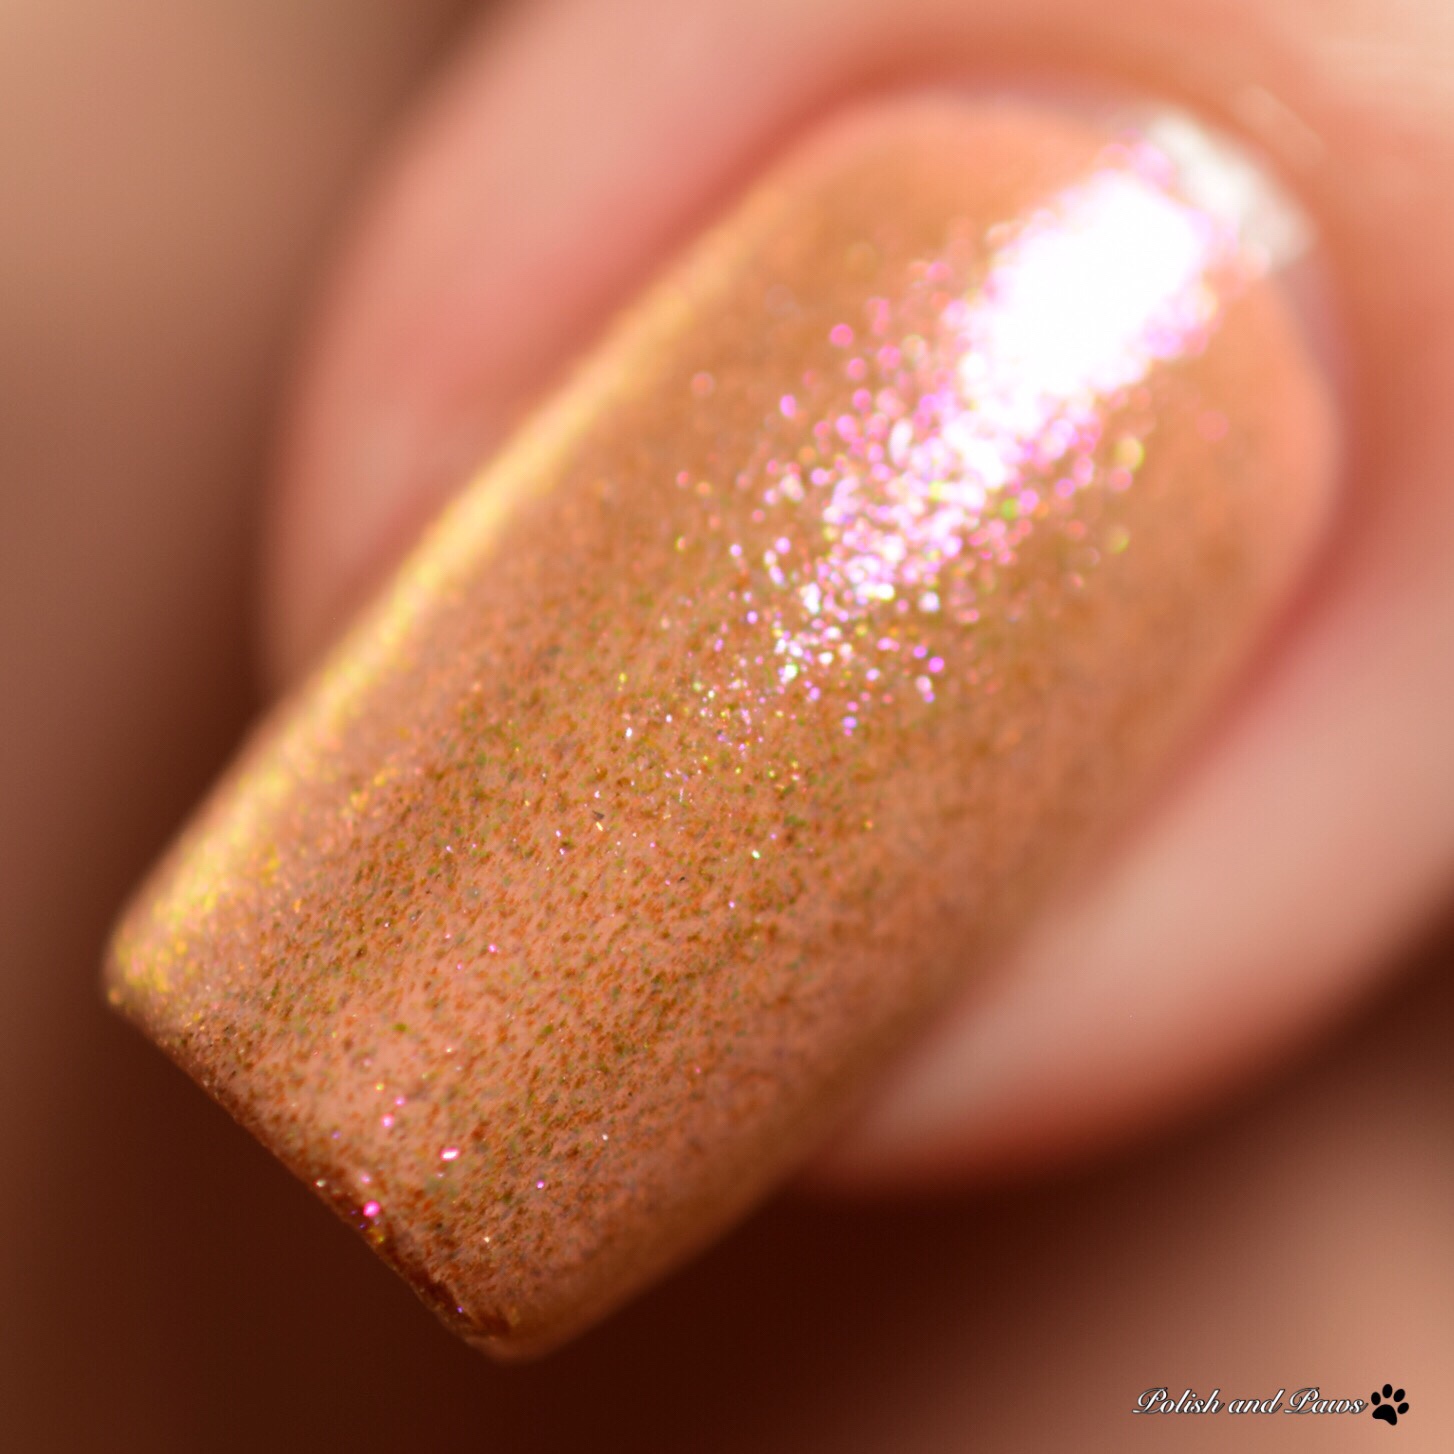
Sally Hansen Chrome Kit Rose Gold

The Sally Hansen Rose Gold Chrome Kit contains Rose Gold Chrome Powder, Salon Chrome Specialty Top Coat, and make up applicator. The additional items you will need are Sally Hansen Miracle Gel Frill Seeker and Sally Hansen Miracle Gel Top Coat.
Instructions:
- Apply 2 thin coats of Miracle Gel nail color (not included) to all nails. Allow to dry until tacky, 2-3 minutes.
- Dip included Applicator into Chrome Powder (only a small amount needed) and rub onto surface of nail (light pressure only) in a back & forth motion. Repeat for each nail. Watch effect appear!
- Apply 1 coat of Special Effect Top Coat and allow to dry for 5 minutes.
- Seal with 1 coat of Miracle Gel Top Coat (not included.)
My tips for best outcome:
- The instructions say to wait till polish is just tacky to apply powder. That “just tacky” window can be very short, if you apply the powder too soon you will ding your polish or if you wait too long the powder won’t adhere. I suggest doing no more than 2 nails at a time, I found that when I applied the powder to the first nail by the time I got to the 3rd or 4th nail the polish was too dry for the powder to adhere well. I found that painting my second coat on 2 nails then applying powder, then paint second coat on 2 more nails.. rinse, repeat.
- Use liquid latex. The powder is so fine that it makes quite a mess even with liquid latex, I hate to think the mess you would have to clean up if you didn’t use a liquid latex type product.
- Be careful to use a very thin coat of the specialty top coat (I’m assuming it’s a water based top coat) If you apply it too thick you will end up with blotchy areas. And definitely let it dry a full 5 minuts before applying the Miracle Gel Top Coat.
I mentioned at the beginning of this post that I tried each of these a few times. That was because I wasn’t getting the results I expected. But since this was my first time using nail powders I wanted to ensure I had realistic expectations, so I tried some others I purchased a months ago. The good news is I was much happier than those, the bad news is I still wasn’t really happy with these.
Overall I just feel very underwhelmed with the results I had. I felt they were very finicky and when I did get the process down pat the results were still nothing like the box photos. Peacock was closer than the others, but it was still quite lackluster. Gunmetal lost any chrome look it had as soon as you apply their specialty top coat, and well Rose Gold was never chrome to begin with. I suspect these would all be at least a bit better applied over actual gel, but the whole point of the kit it seems is to be able to use it with regular polish. I did actually try them with a burnishing base coat as well, which was easier, but did not change the end result.
Unfortunately I could not give these a positive review, but my first responsibility is with you my readers. I hope that you were able to find this review helpful with your purchasing decisions.
Sally Hansen: Website ~ Facebook ~ Instagram ~ Pinterest ~ Twitter
Until next time, stay polished!


